
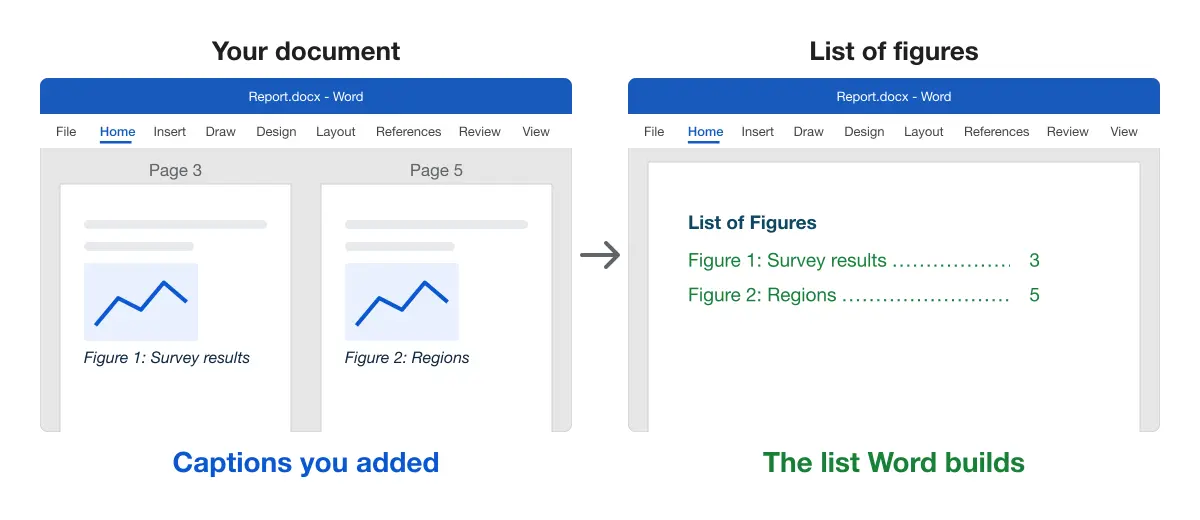
A table of figures is Word’s name for a list of figures: a page that lists every figure caption with its page number. Word builds it from captions you already added, so you don’t type it, and it stays correct after you edit the document.
The same command makes a list of tables, which many thesis and report guides ask for as a separate page. This guide starts with captions already in place. If yours are typed by hand, the troubleshooting section shows how to tell and what to do.
- Insert a list of figures
- Add a list of tables
- Update the list after edits
- Make entries clickable
- Edit and format the list
- Fix a list that doesn’t work
Inserting a list of figures
Use this when your figures already have captions and you need the list in the front matter.
Word has no button named “list of figures”, and the Table of Contents button lists headings, not figures.
The command you need is Insert Table of Figures. It finds captions that were added with Insert Caption. If you haven’t captioned your figures yet, follow how to insert captions in Word first. Microsoft also covers them in Add, format, or delete captions.
- Click where the list should go, for example on a blank page after the table of contents.
- Type a heading such as
List of Figures, then press Enter. - On the References tab, in the Captions group, click Insert Table of Figures.
- In Caption label, choose Figure.
- In Formats, keep From template for now. You can change the look later.
- Keep Show page numbers and Right align page numbers ticked.
- Click OK.
Result: Word inserts a list of every figure caption, each with its page number on the right. Microsoft describes the same dialog in Insert a table of figures.
Adding a list of tables
Use this when your document also has captioned tables and your guide asks for a separate list of tables.
- Click on an empty line below the list of figures, or on a new page.
- Type a heading such as
List of Tables, then press Enter. - Click References > Insert Table of Figures.
- In Caption label, choose Table.
- Click OK.
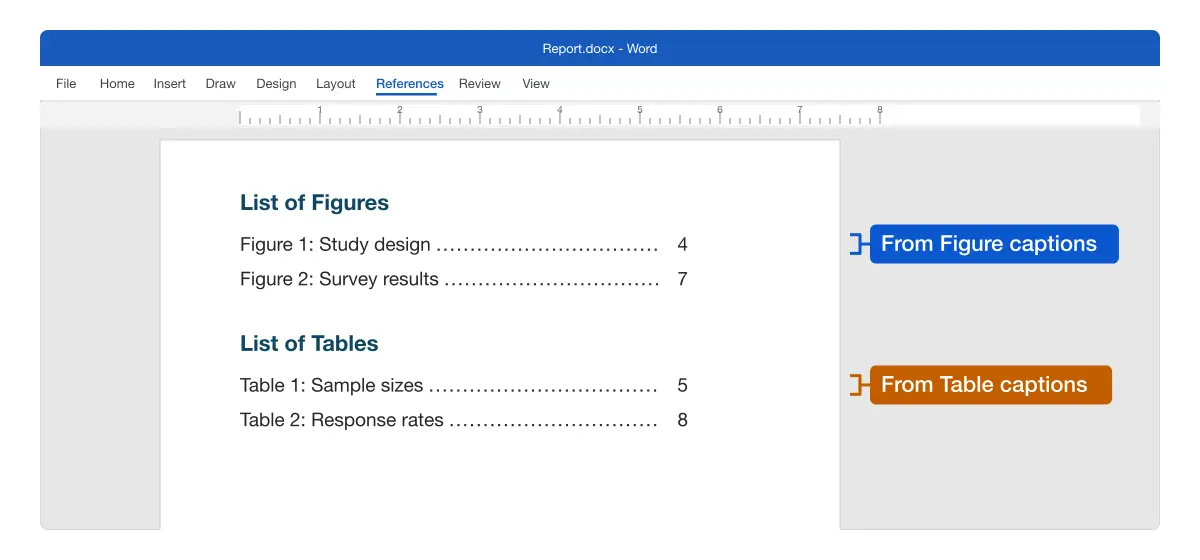
Result: Two separate lists, one of figures and one of tables, each with its own page numbers.
Each caption label gives its own list. Equation works the same way, and so does a label you created with New Label in the Insert Caption dialog.
Updating the list
Use this when you add, remove or move figures, edit a caption, or change anything that moves text to another page.
The list doesn’t change on its own. Word builds it as a field, a piece of content Word fills in and refreshes on request.
- Click anywhere in the list.
- Press F9. You can also right-click the list and choose Update Field, or click References > Update Table.
- In the Update Table of Figures box, choose an option:
- Update page numbers only when only the layout changed.
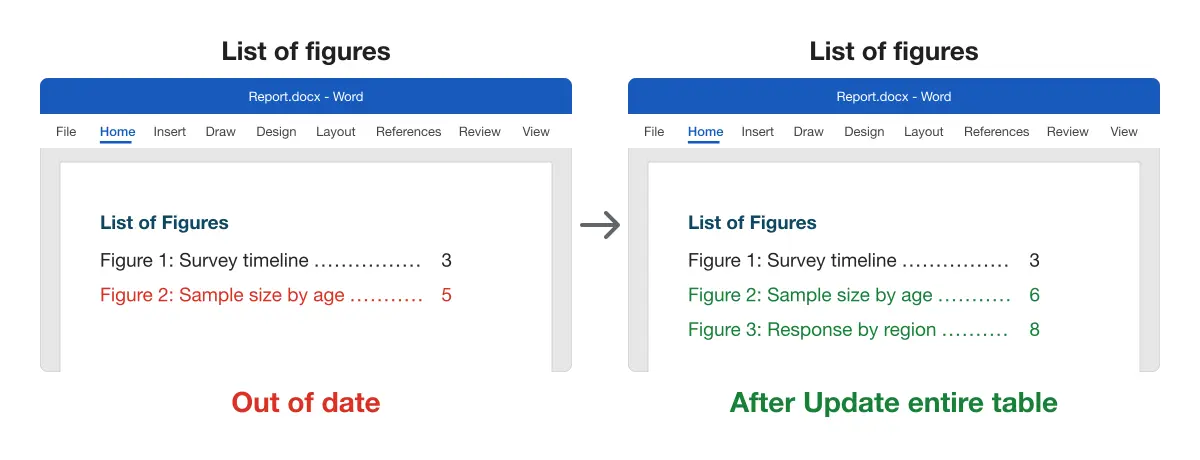
- Update entire table when you added, removed or renamed captions.
- Click OK.
Result: The list matches the document, with the current captions and page numbers.
Tip: Before you submit, press Ctrl + A to select the whole document, then press F9. Word updates every field at once: both lists, the table of contents and cross-references.
To have Word refresh fields each time you print, click File > Options > Display, and under Printing options tick Update fields before printing.
Making entries clickable
Use this when examiners will read the document on screen, or you submit it as a Word file or a PDF.
- Click References > Insert Table of Figures.
- Under Web Preview, make sure Use hyperlinks instead of page numbers is ticked.
- Click OK, and click Yes if Word asks to replace the existing list.
Result: Each entry links to its figure. In Print Layout, the page numbers stay in place. Hold Ctrl and click an entry to jump to the figure.
If you submit a PDF, save the document as a PDF, then click an entry in the PDF to check that its link works.
Editing and formatting the list
Use this when the list must match the fonts, spacing or indents in your university’s guide.
Warning: Word rebuilds the list on every update, so any text you type or format directly in it is lost. To change an entry’s wording, edit the caption itself, then update the list.
To change the look of every entry, change the Table of Figures style:
- Click References > Insert Table of Figures.
- Set Formats to From template. The Modify button works only with this format.
- Click Modify. The Style dialog opens with Table of Figures selected.
- Click Modify again, then set the font, size, line spacing and indents.
- Click OK in each dialog, and click Yes to replace the list.
Result: The new style applies to every entry, and it stays after each update.
The same dialog has other settings for the look:
- Formats: From template, Classic, Distinctive, Centered, Formal or Simple.
- Tab leader: the dots, dashes or line between an entry and its page number.
- Right align page numbers: lines up the numbers at the right margin.
- Include label and number: untick it to list only the caption text, without “Figure 1”.
Getting the matching look for your contents page is covered in how to create a table of contents in Word.
Comparing the methods
| Method | Best for | Works on |
|---|---|---|
| From captions (Caption label) | Captions added with Insert Caption | Word desktop app |
| From a style (Options > Style) | Captions typed by hand, all in one style | Word desktop app |
| Typed by hand | Not recommended: page numbers go out of date | Any editor |
If your captions are typed as plain text but all use one style, such as Caption, click Options in the dialog. Tick Style, choose that style, and click OK. Word then lists every paragraph in that style.
Platform differences
- Windows: all steps above, in Word for Microsoft 365.
- Mac: this guide shows Word for Windows, and Microsoft’s guide gives no separate Mac steps, so some menu names may differ.
- Word for the web: to use the steps in this guide, click Editing > Open in Desktop App.
Troubleshooting the table of figures
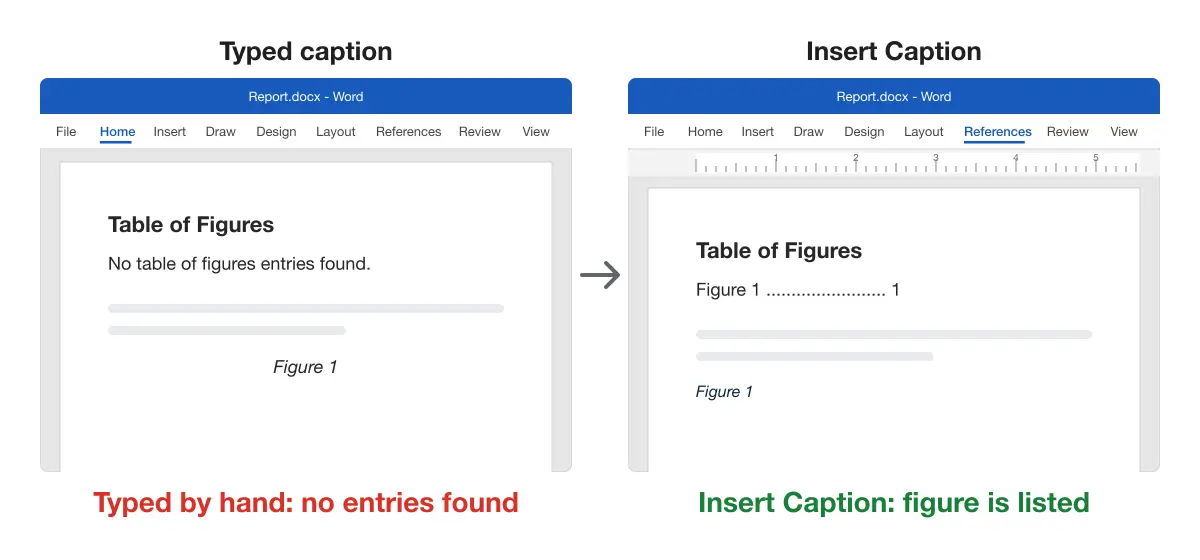
- “No table of figures entries found.” Word found no captions with the chosen label. Click a caption number: if it doesn’t turn grey, the caption was typed by hand. Delete it and add it again with References > Insert Caption, or build the list from a style as in Comparing the methods.
- Some figures are missing. Their captions use a different label, such as a custom Fig. label. Check Caption label in the dialog, or make a second list for that label.
- The list doesn’t update. It hasn’t been refreshed since the change. Click the list, press F9 and choose Update entire table.
- Insert Table of Figures is missing or greyed out. In a small window, Word may not show the button, so maximize the window. If the document opened in Protected View, click Enable Editing in the yellow bar. If editing is restricted, click Review > Restrict Editing > Stop Protection.
- Page numbers are wrong. The layout changed after the last update. Press F9 and choose Update page numbers only.
- The list shows
{ TOC \h \z \c "Figure" }. Word is showing field codes. Press Alt + F9 to show the list again.
For front pages numbered i, ii, iii, see Roman numerals and page numbers in Word, or browse the Microsoft Word guides.